💡 NyuuLy's Pro Tip: there is a faster way. Compass gives you two ways to open your Yūcho account, and Method 1 is faster. With Method 1, you usually get your cash card in about 2 weeks. With Method 2, your appointment is often some weeks away, and your cash card usually arrives about 2 weeks after that appointment.
If you prefer the quickest route, open NyuuLy Compass → Forms → Open your Japan Post Bank → Method 1 and follow it there. One thing to keep in mind: some Method 1 applications are rejected, so please apply carefully and check every detail. This guide covers Method 2: opening your account by visiting a branch.
The Process
- Register your address at your local city hall (if you have not already).
- Make a branch reservation.
- Visit the branch.
Step 1: Register your address at your local city hall (if you have not yet)
Start with NyuuLy Compass. Go to My Forms → Register your address, and enroll in health insurance at the same time.
Your address must be registered before the bank will open your account. At the branch, staff check it against your Residence Card, so please do this first.
Step 2: Make a Reservation
1. Choose your consultation and your branch
You will need a NyuuLy Compass account first. Compass guides you to the right branch to book.
In Compass, go to Forms → Open your Japan Post Bank → Method 2 → Find your nearest branch →
Then open the Yūcho booking site: https://yucho-seminar-web.my.salesforce-sites.com/consultant
Set these four things:
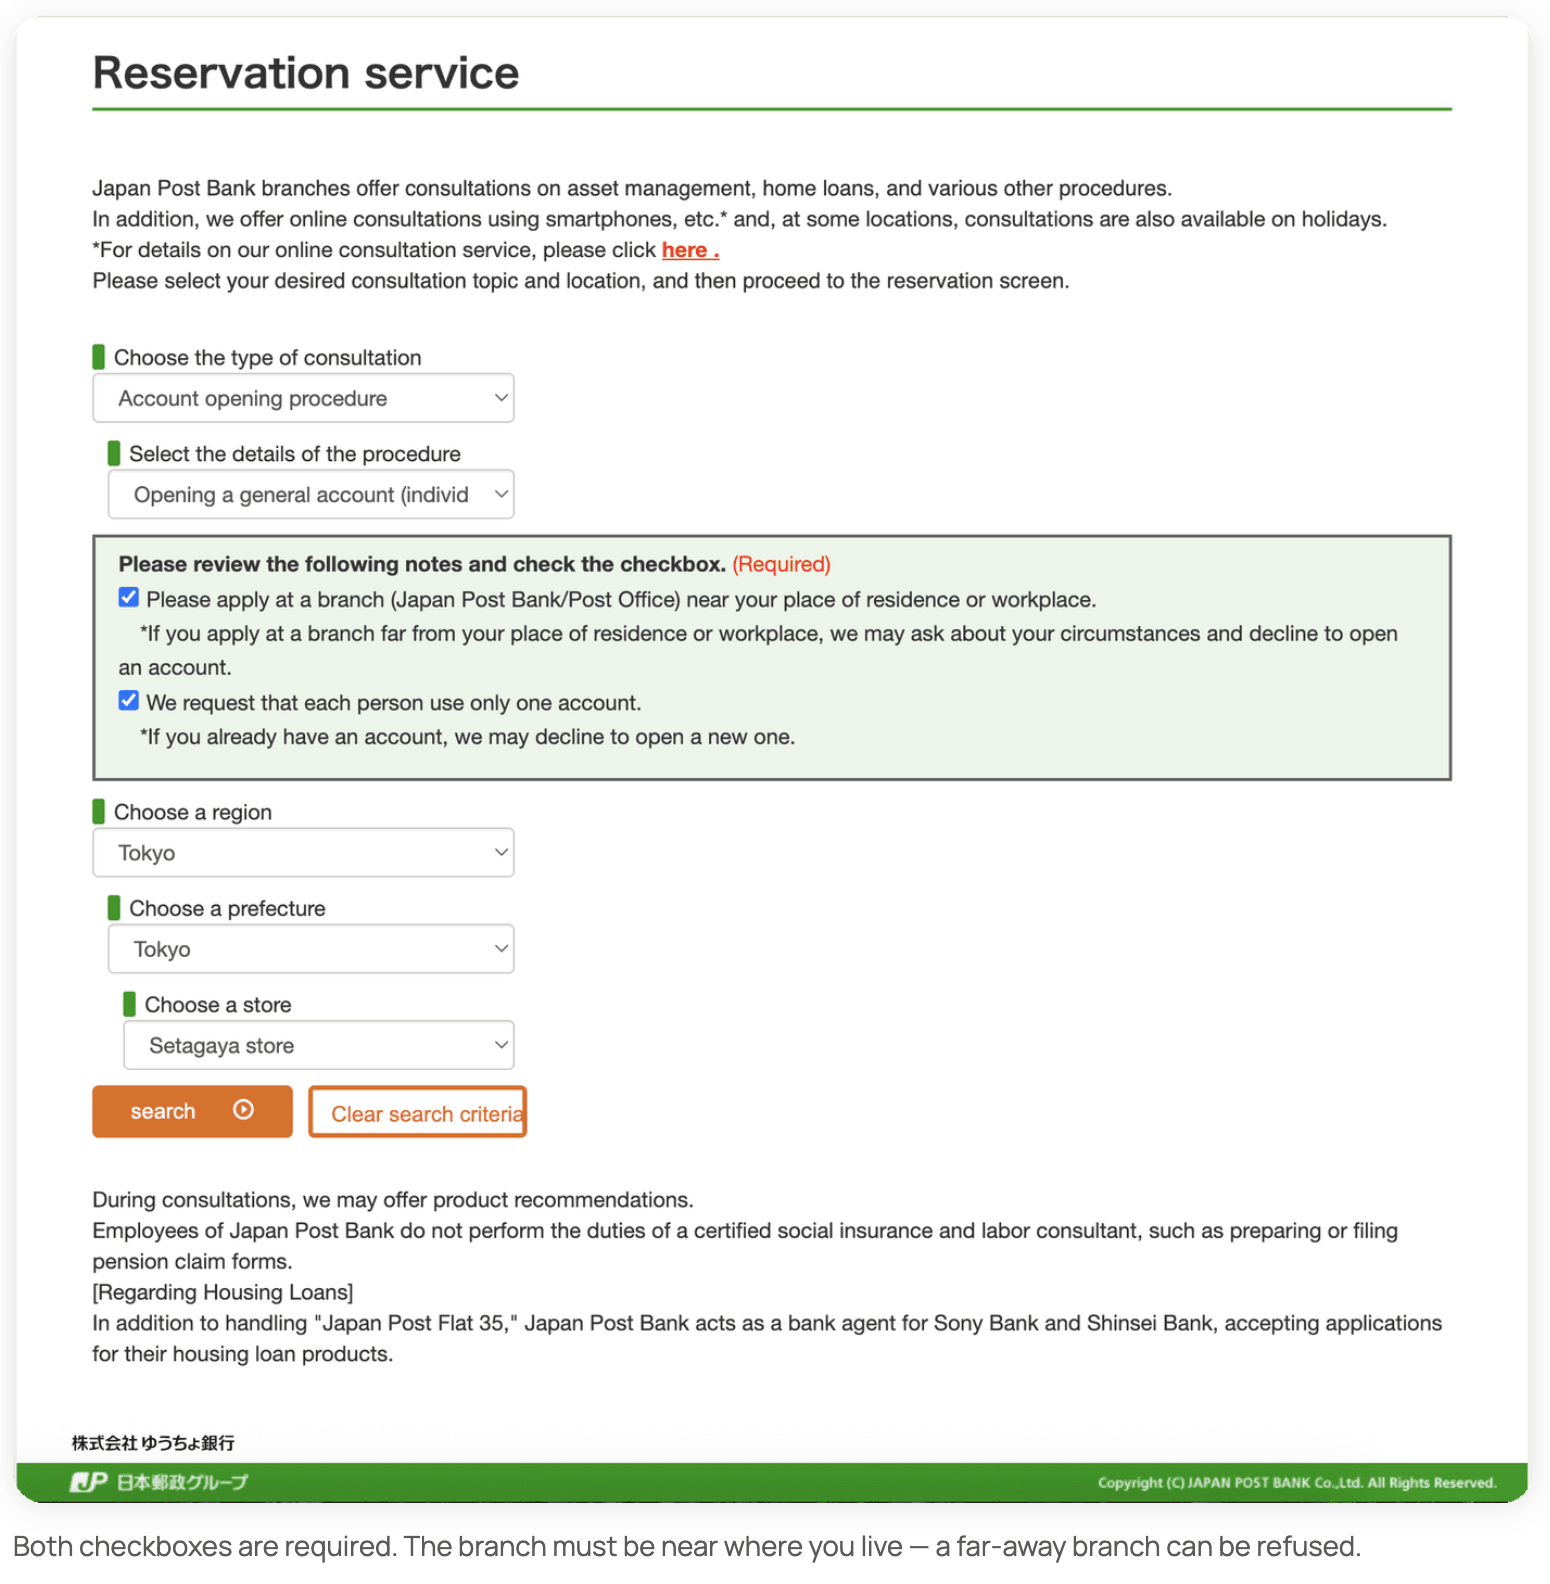
- Type of consultation → Account opening procedure
- Details of the procedure → Opening a general account (individual)
- Tick both checkboxes in the green box
- Region → Prefecture → Store → choose a branch near your registered address (choose the branch near your address)
Tip: the page is only in Japanese. Right-click anywhere on the page and choose Translate to English.
Then press Search.
2. Pick a date
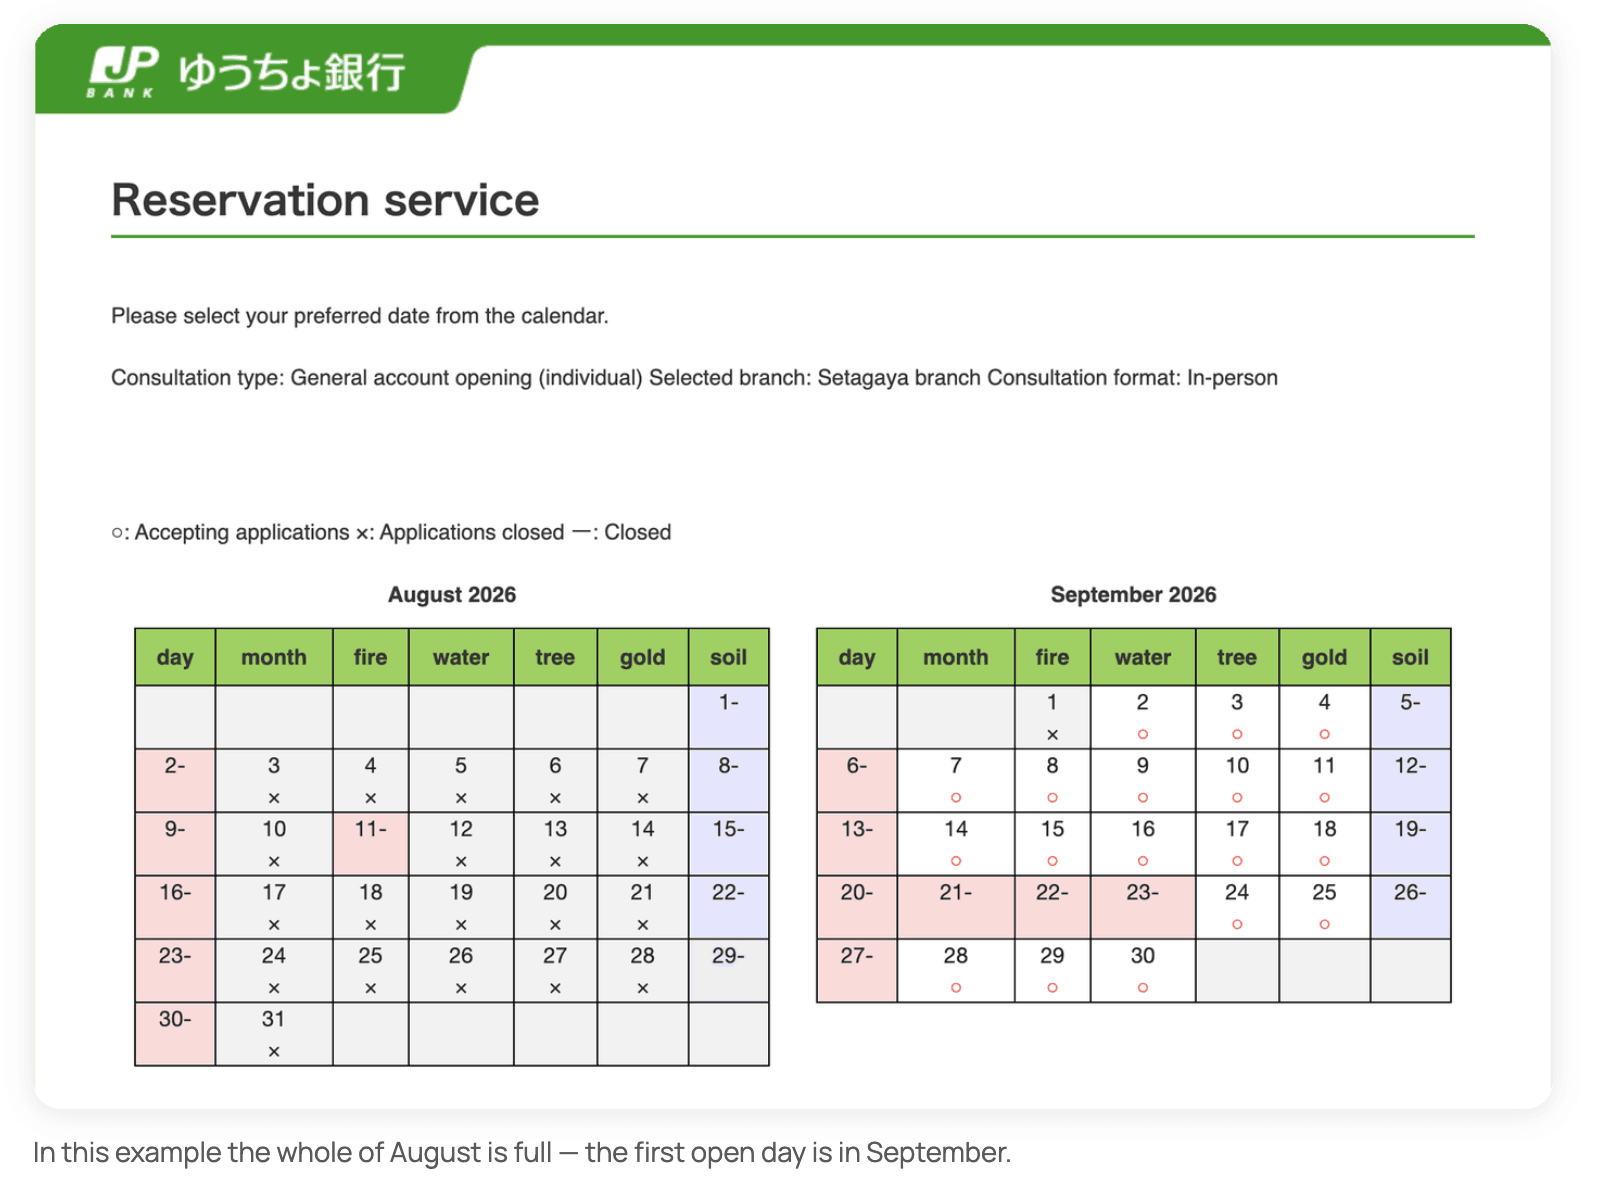
The calendar shows two months at a time:
○ — slots available
× — fully booked
― — branch closed
Plan ahead. Popular branches are booked out for weeks, so the first free date can be a month away. Book as early as you can.
3. Read the notes and tick the box
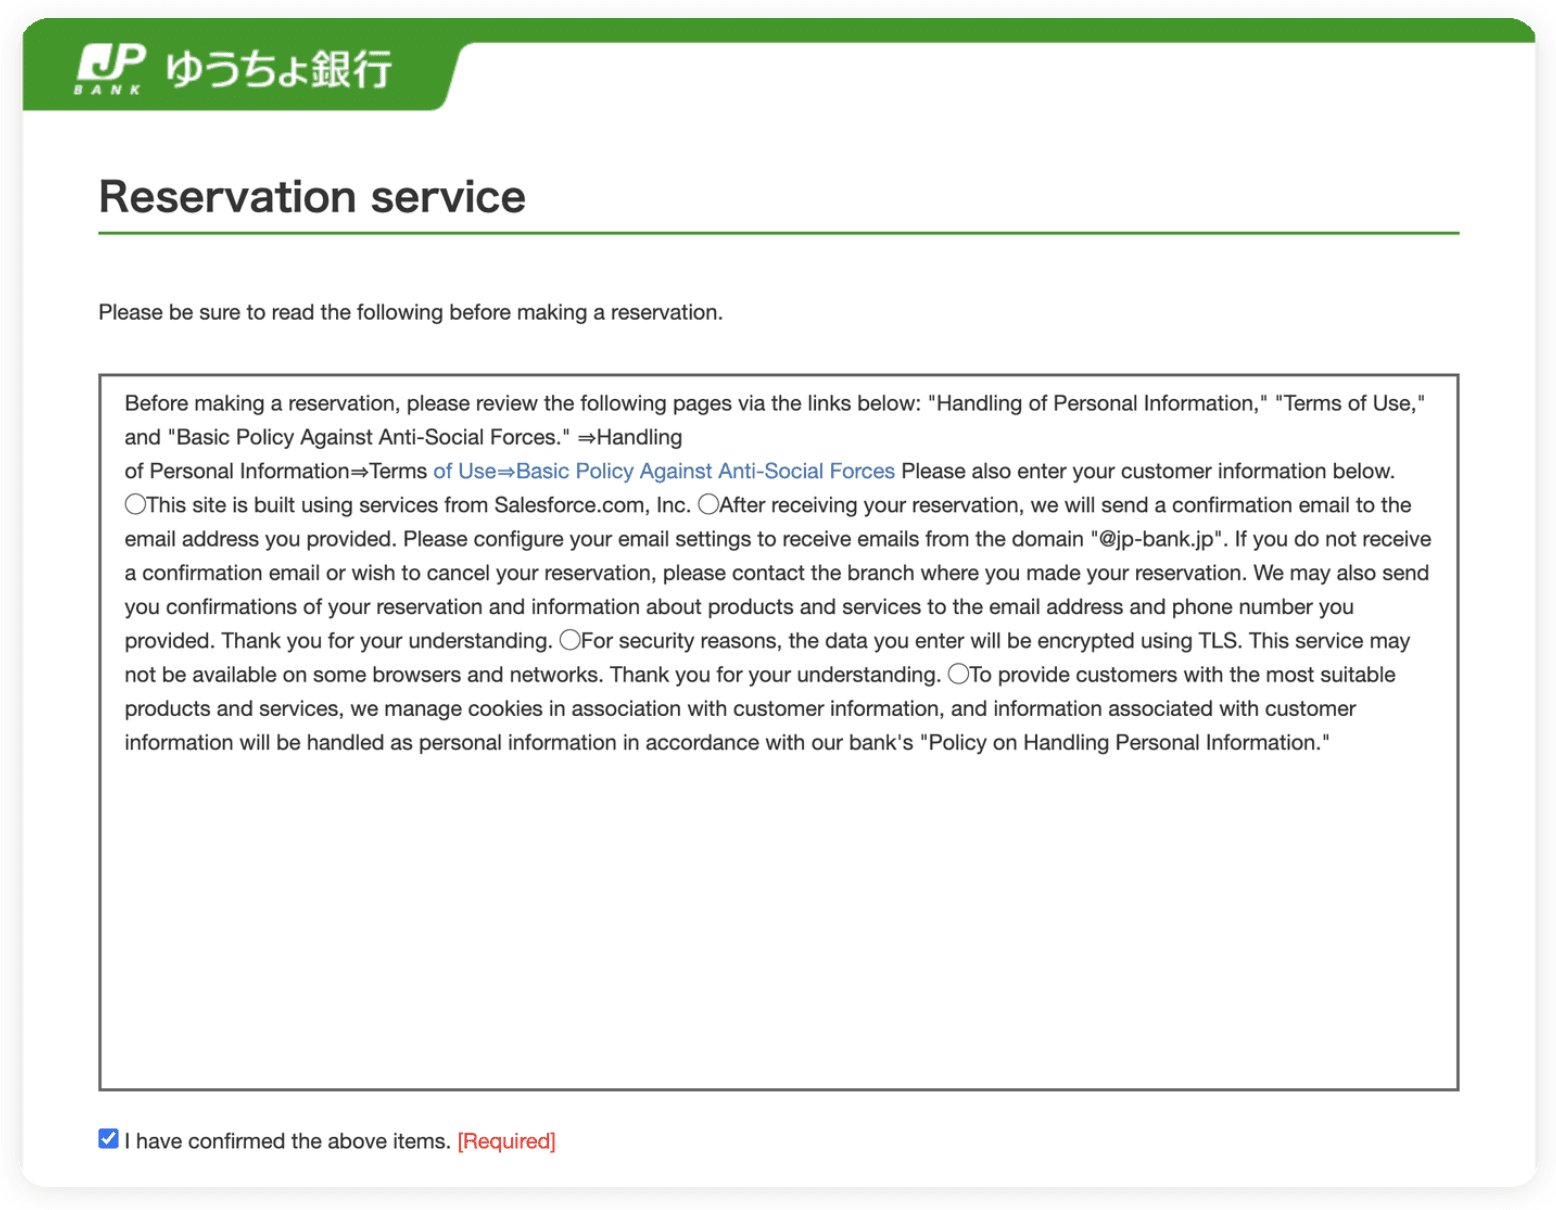
A page of terms appears. Tick "I have confirmed the above items." and scroll down.
4. Enter your details
This is where most people get stuck. Take it slowly:
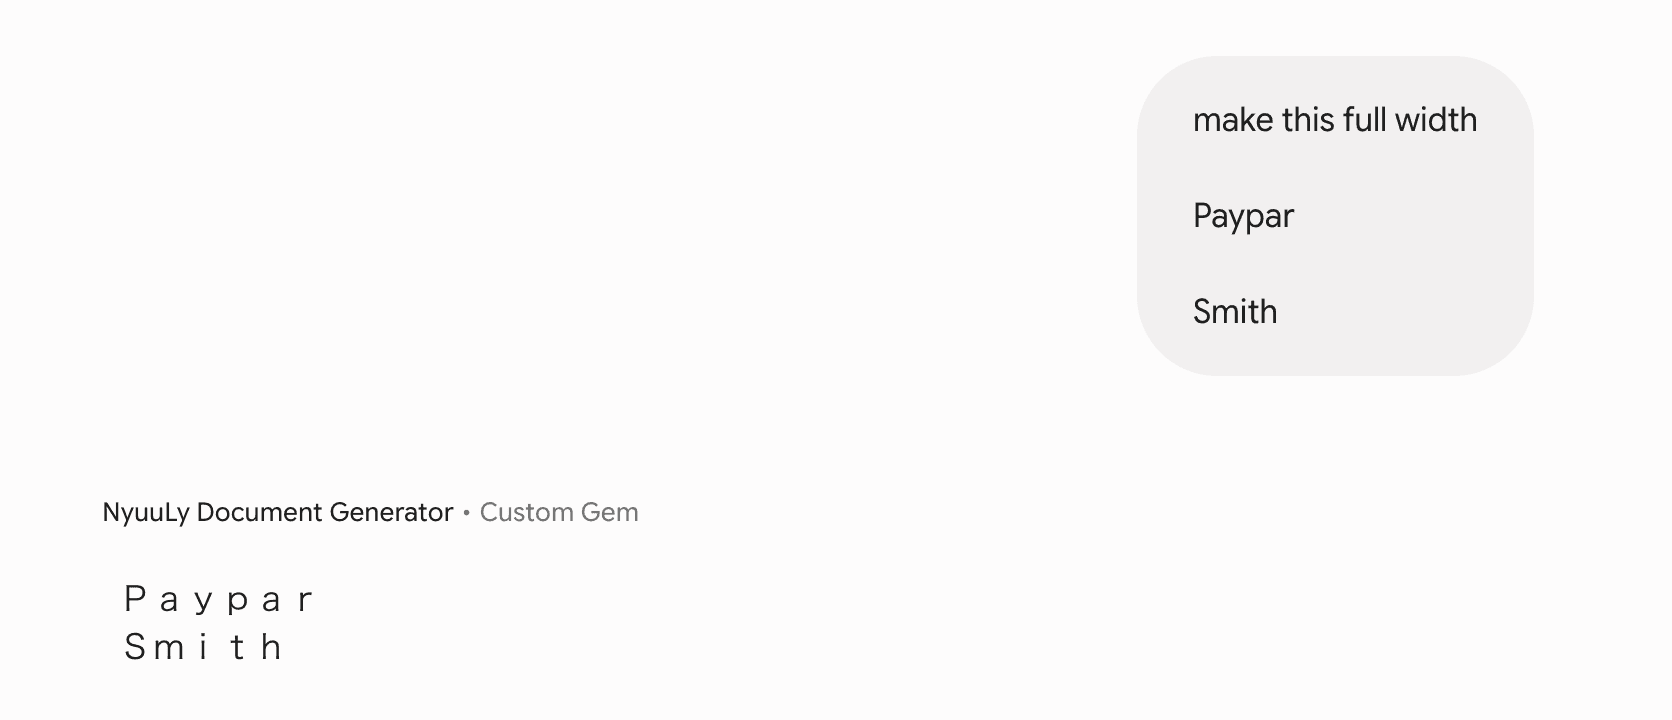
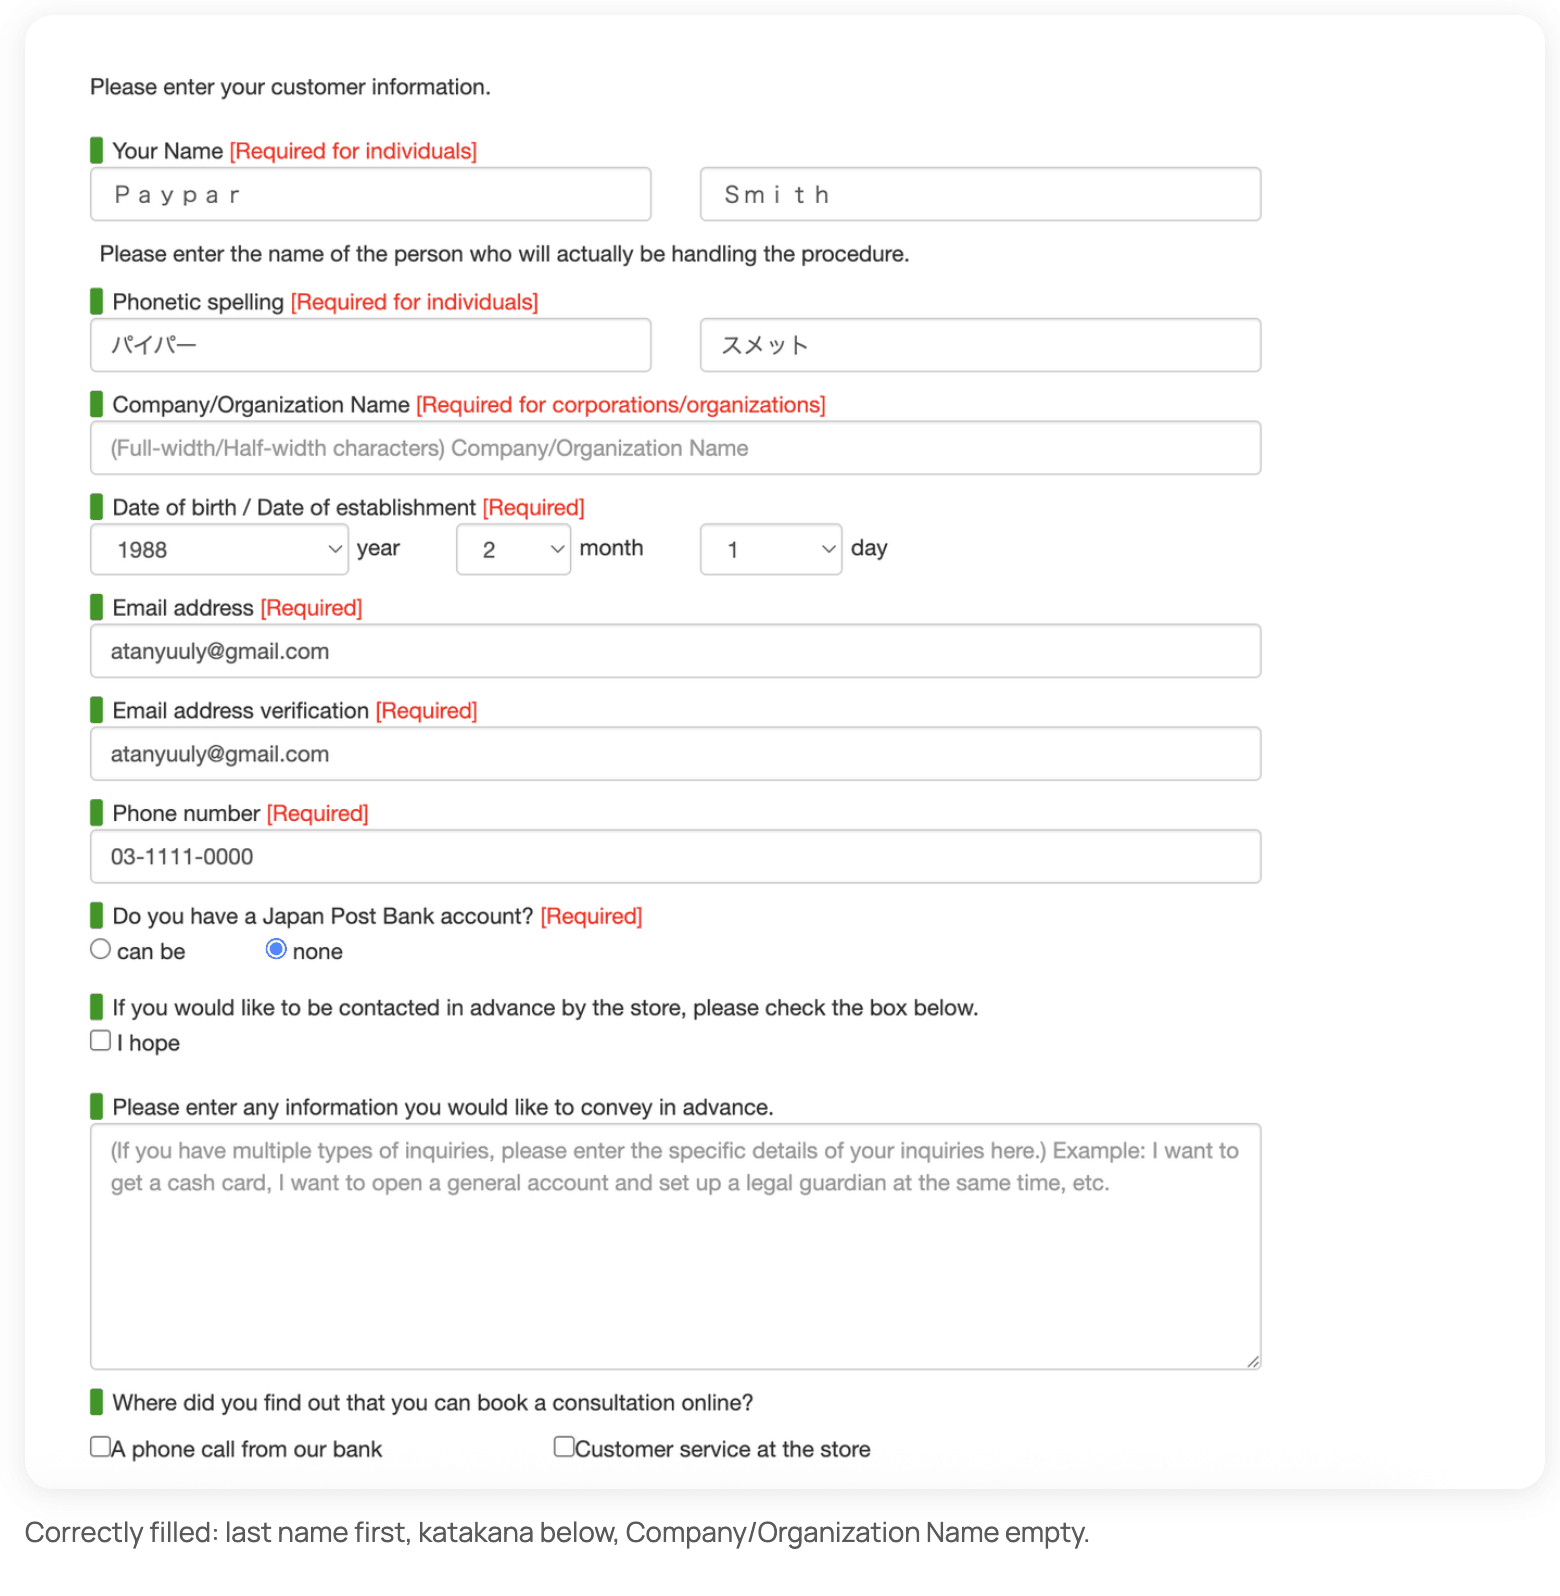
- Your Name — last name in the left box, first name in the right. It must match your Residence Card and your Compass application exactly. You must convert to full width letters. Use the help from ChatGPT etc.
- Phonetic spelling — your name in katakana (for example, Paypar Smith → パイパー / スメット). Must be the same as your application form you created on Compass. Copy paste it from your NyuuLy Compass.
- Company/Organization Name — leave this completely empty.
- Date of birth — pick year, month and day from the dropdowns.
- Email address — type it twice. This is where your confirmation goes.
- Phone number — For some users, we lend a NyuuLy phone number so they can proceed with your important paperwork, but they have to switch it to your own within a month. We recommend you to get your own NyuuLy Mobile phone number.
- "Do you have a Japan Post Bank account?" → none (if it applies)
- For Temple University Students, in the information section, please say that you are a “Temple University Japan Student and need English assistance”.
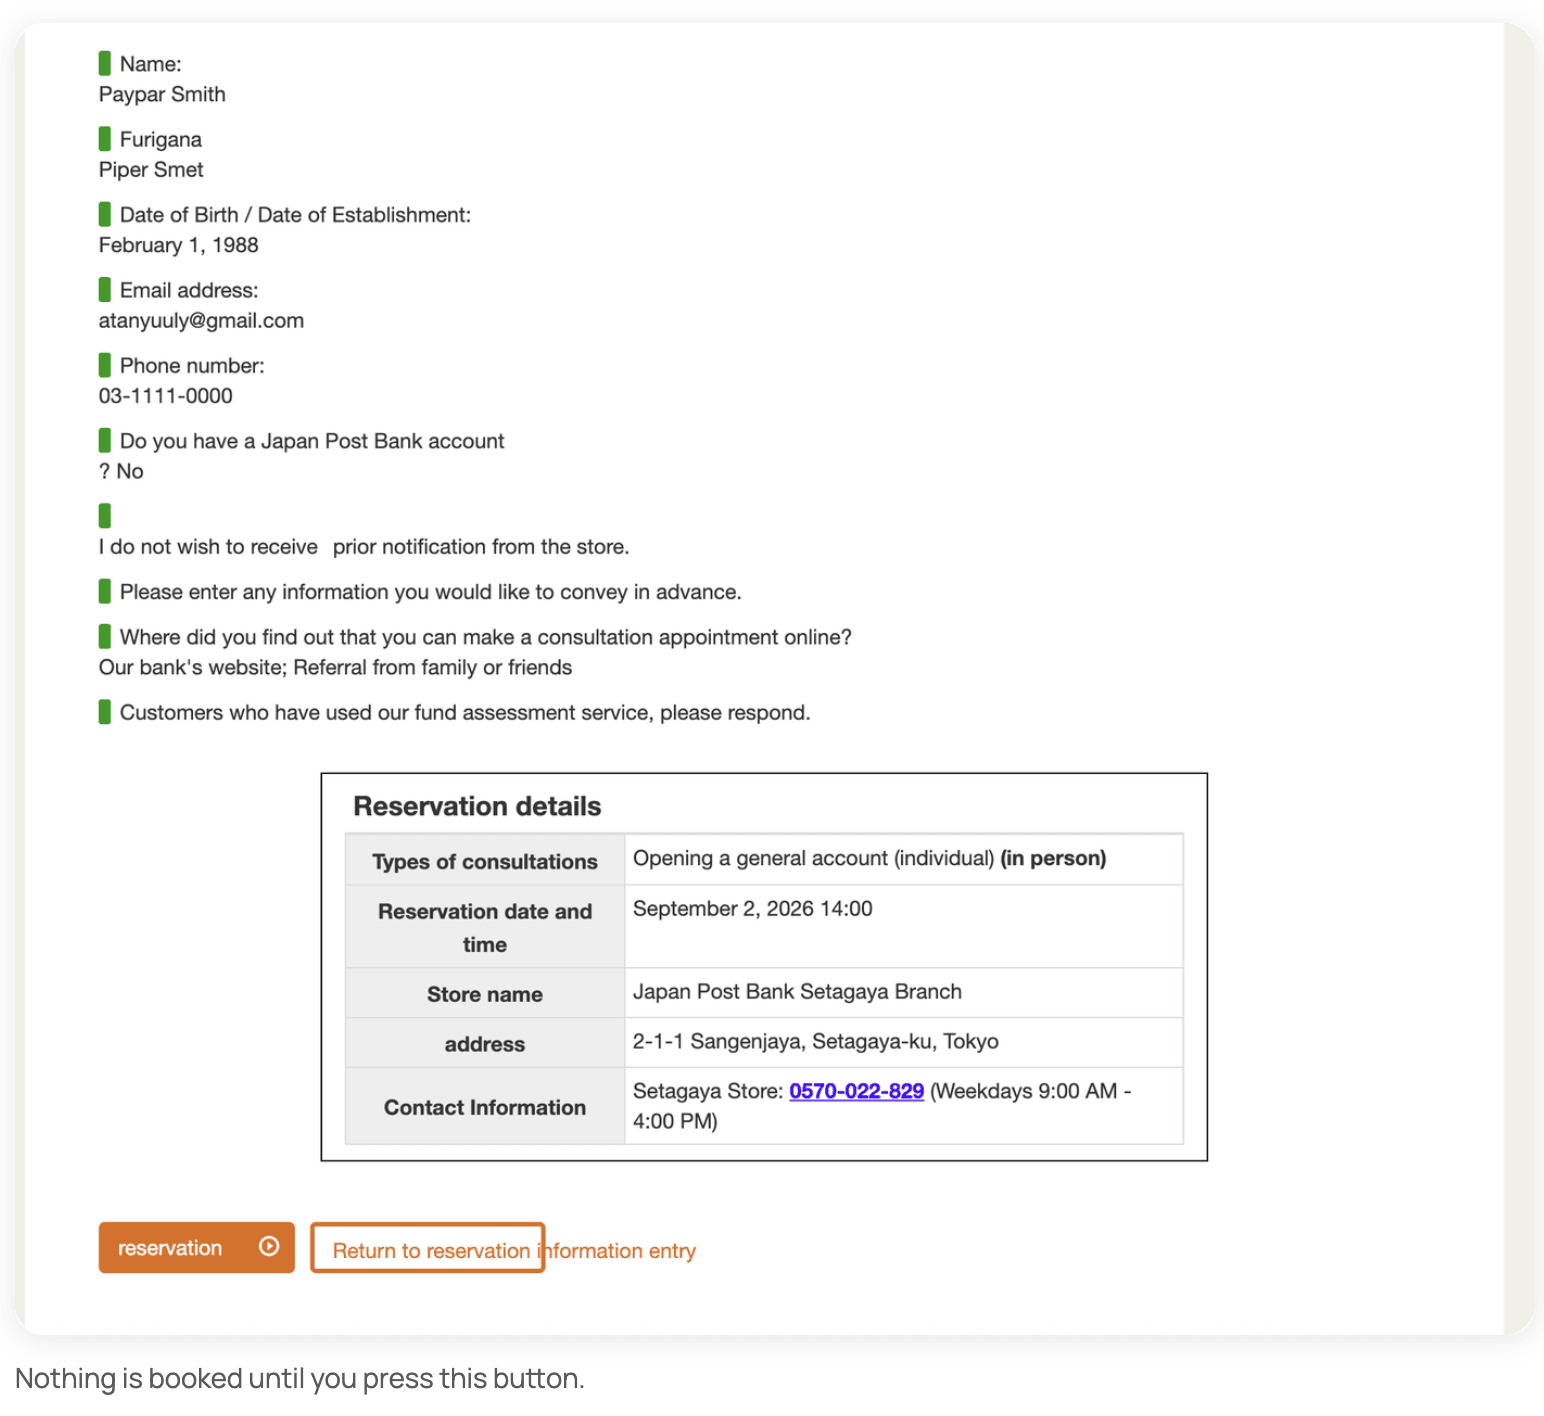
5. Check everything and press reserve
A summary page appears saying "Your reservation is not yet complete." Check your name, date, time and branch, then press the orange reservation button.
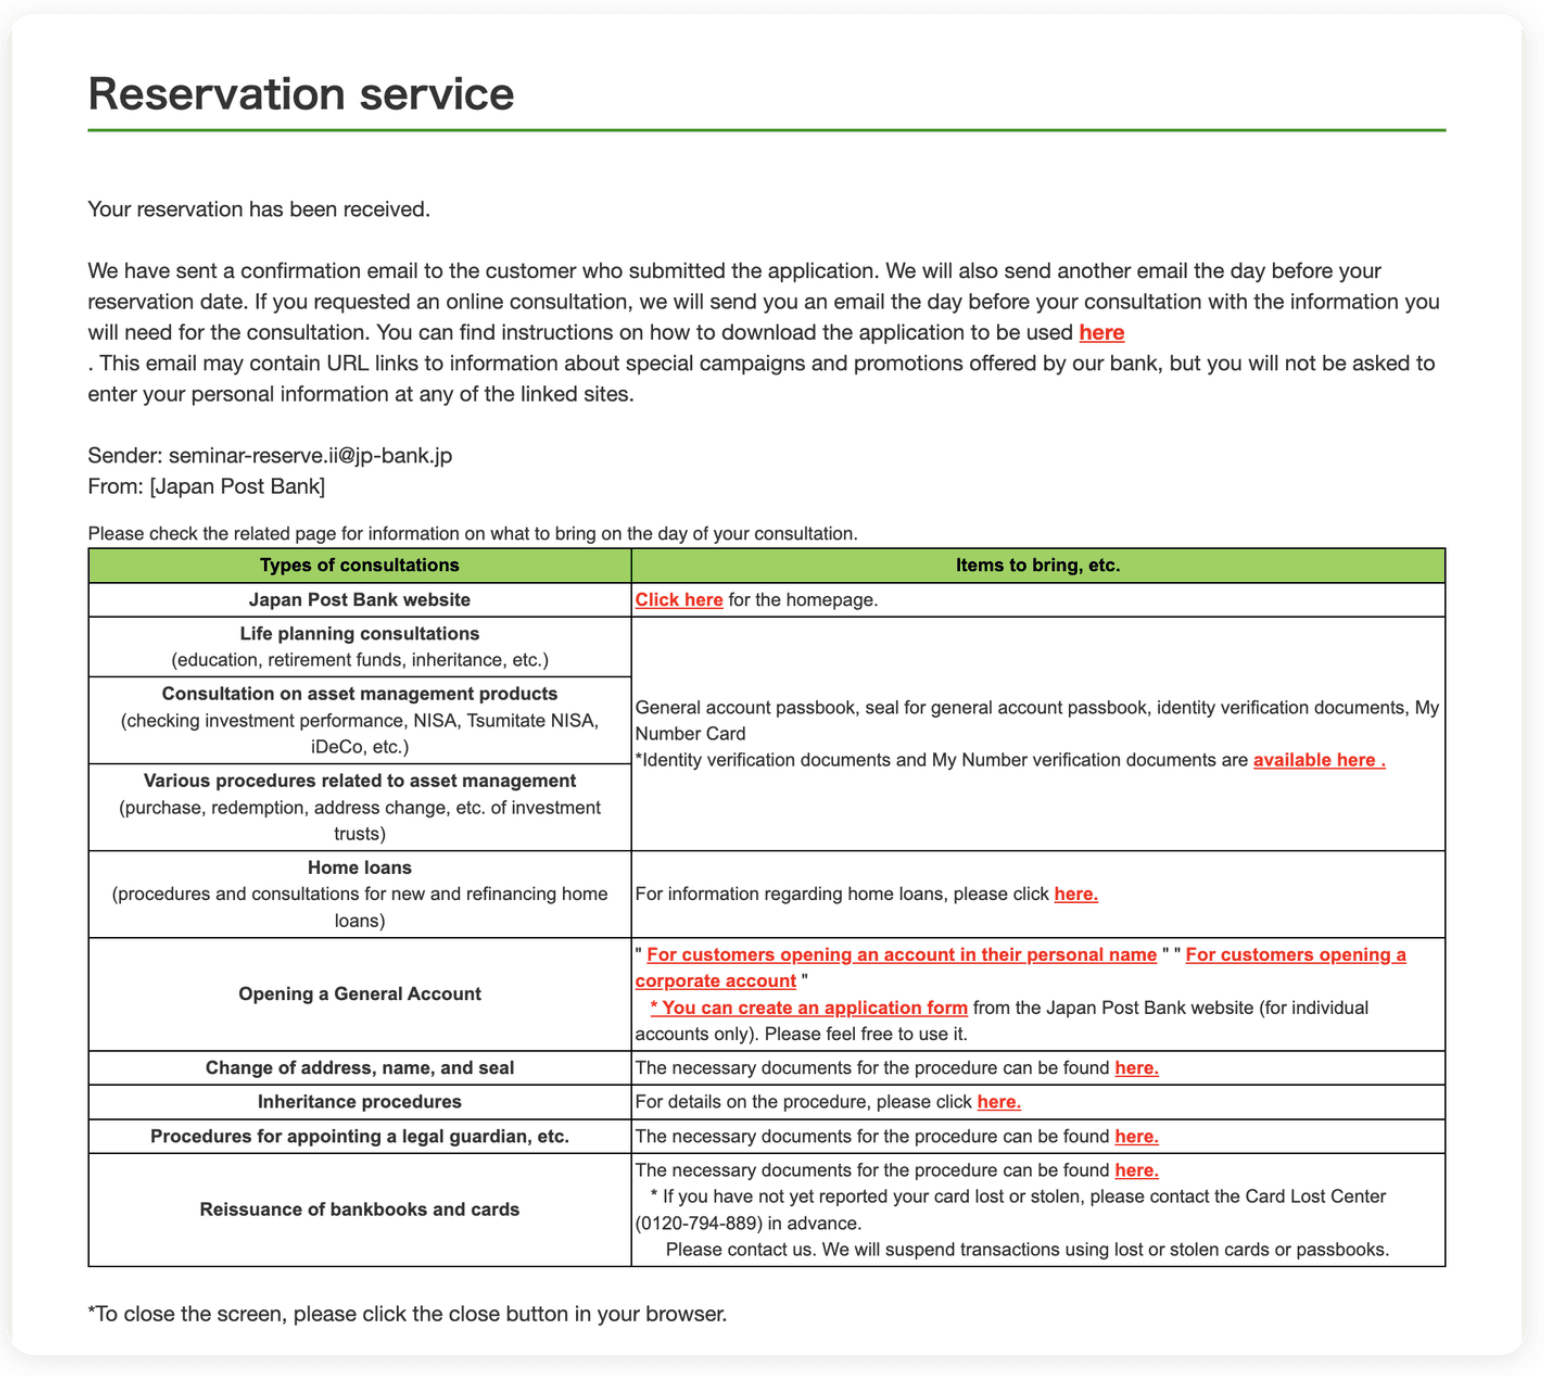
6. You're booked 🎉
You'll see "Your reservation has been received" and get a confirmation email from seminar-reserve.ii@jp-bank.jp, plus a reminder the day before.
Step 3: Visit the Branch
Bring:
- Passport
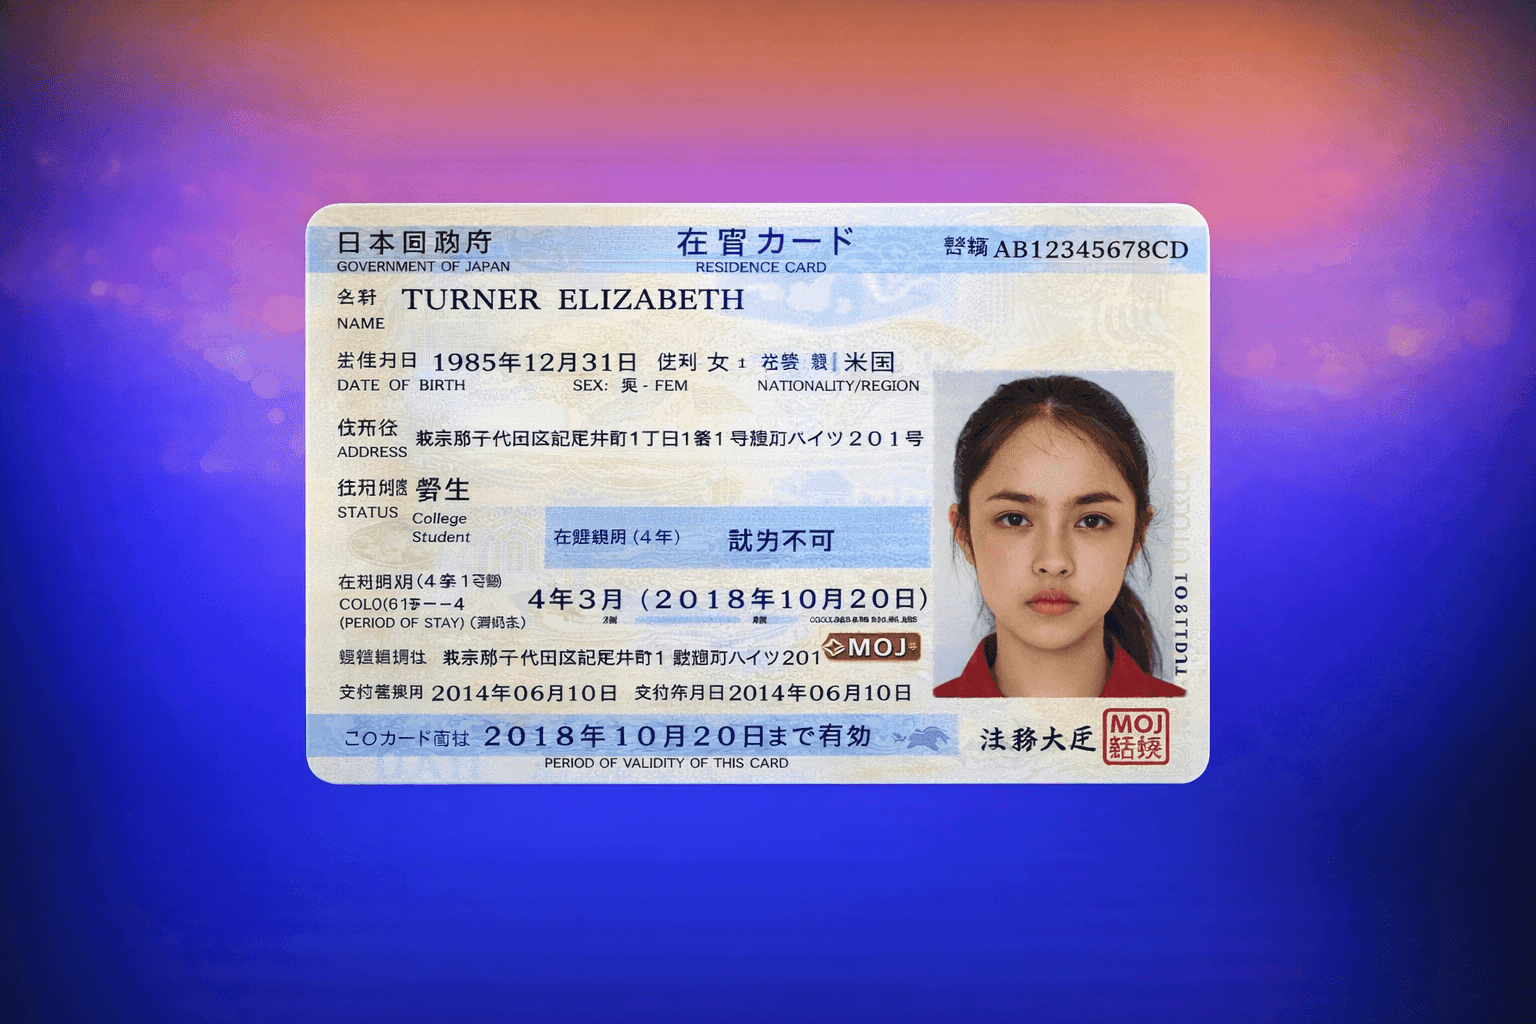
- Residence Card — after you have registered your address
- Student ID, if you are a student
Keep it all in one folder. Staff will check your documents and guide you from there.
You can say:
Kōza o kaisetsu shitai desu.
“I would like to open a bank account.”
⚠️ Can't make it?
Please cancel your appointment. Branch slots are limited, so a no-show doesn't just affect you — it takes away a slot another student could have booked.
To cancel, call the branch phone number at the bottom of your confirmation email as soon as you know you won't make it. Branch staff usually only speak Japanese, so line up a friend, RA, or someone else who can help make the call.
⚠️ Common Mistakes to Avoid
❌ Starting this process before your address is registered
The number one reason people get turned away.
❌ Going to a random post office
Not every branch opens accounts. Check the reservation system.
❌ Going without a reservation
We strongly recommend booking before you go.
Good luck, and welcome to Japan! 🇯🇵